Skip to content
Pause slideshow
Play slideshow
FREE SHIPPING ON ALL ORDERS OVER $39
instagram
Instagram
Facebook
YouTube
twitter
Twitter
TikTok
Raw Brewing Co. - Kombucha.com
Shop
Carbo-Craft: A Carbonation Revolution
Scobys & Cultures
Kombucha Tea Blends
Kombucha Kits
Brew Booster Premium Flavoring Blends
Testing, Measuring, Heating, & Supplies
Bottling
Herbs/Spices/Flowers
Gift Cards
Iced Tea Blends
Live Culture Guarantee
Product Directions
Scoby - Primary Ferment (F1) Tutorial
Learn & Grow
Ferm Institute (Knowledge Base)
Free Brewing Tools & Resources
30 Day Success Guarantee
Contact
Product Support
Contact Us
Affiliates
Search
Account
0
Cart
.
.
.
Site navigation
Close
Search
Search
Cancel
Your cart is currently empty.
Shop
icon-chevron
Expand submenu
Shop
View all
icon-chevron
Carbo-Craft: A Carbonation Revolution
icon-chevron
Scobys & Cultures
icon-chevron
Kombucha Tea Blends
icon-chevron
Kombucha Kits
icon-chevron
Brew Booster Premium Flavoring Blends
icon-chevron
Testing, Measuring, Heating, & Supplies
icon-chevron
Bottling
icon-chevron
Herbs/Spices/Flowers
icon-chevron
Gift Cards
icon-chevron
Iced Tea Blends
icon-chevron
Live Culture Guarantee
icon-chevron
Product Directions
icon-chevron
Expand submenu
Product Directions
Scoby - Primary Ferment (F1) Tutorial
icon-chevron
Learn & Grow
icon-chevron
Expand submenu
Learn & Grow
Ferm Institute (Knowledge Base)
icon-chevron
Free Brewing Tools & Resources
icon-chevron
30 Day Success Guarantee
icon-chevron
Contact
icon-chevron
Expand submenu
Contact
Product Support
icon-chevron
Contact Us
icon-chevron
Affiliates
icon-chevron
Home
/
Collections
/
Gift Cards
/
Raw Brewing Co. Kombucha.com Gift Card
Home
/
Collections
/
Gift Cards
/
Raw Brewing Co. Kombucha.com Gift Card
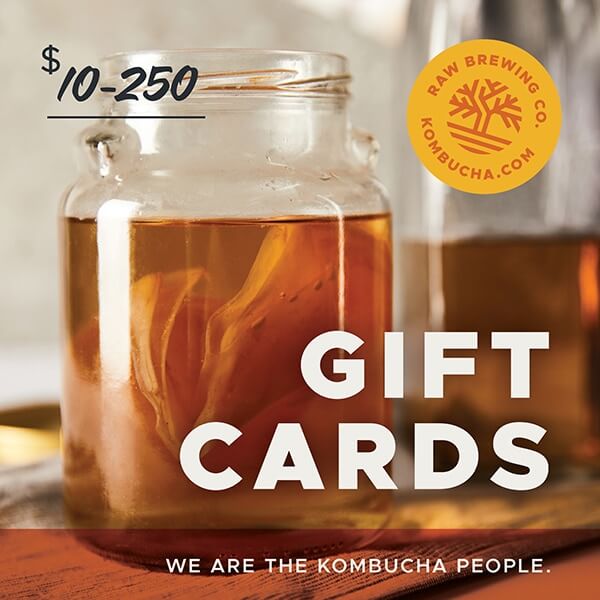
Send a
kombucha.com
gift card to your favorite home brewer! Available in $10, $25, $50, $100, $200, and $250.
Denominations:
Denominations
$10.00
$25.00
$50.00
$100.00
$250.00
Shipping
calculated at checkout.
Add to cart
$10.00 - $10.00 USD
$25.00 - $25.00 USD
$50.00 - $50.00 USD
$100.00 - $100.00 USD
$250.00 - $250.00 USD
Share
Share on Facebook
twitter
Tweet
Tweet on Twitter
Pin it
Pin on Pinterest
instagram
Share
Share on instagram
[{"id":47466678944030,"title":"$10.00","option1":"$10.00","option2":null,"option3":null,"sku":"","requires_shipping":false,"taxable":false,"featured_image":null,"available":true,"name":"Raw Brewing Co. Kombucha.com Gift Card - $10.00","public_title":"$10.00","options":["$10.00"],"price":1000,"weight":0,"compare_at_price":null,"inventory_management":null,"barcode":null,"requires_selling_plan":false,"selling_plan_allocations":[],"quantity_rule":{"min":1,"max":null,"increment":1}},{"id":47466679042334,"title":"$25.00","option1":"$25.00","option2":null,"option3":null,"sku":"","requires_shipping":false,"taxable":false,"featured_image":null,"available":true,"name":"Raw Brewing Co. Kombucha.com Gift Card - $25.00","public_title":"$25.00","options":["$25.00"],"price":2500,"weight":0,"compare_at_price":null,"inventory_management":null,"barcode":null,"requires_selling_plan":false,"selling_plan_allocations":[],"quantity_rule":{"min":1,"max":null,"increment":1}},{"id":47466679075102,"title":"$50.00","option1":"$50.00","option2":null,"option3":null,"sku":"","requires_shipping":false,"taxable":false,"featured_image":null,"available":true,"name":"Raw Brewing Co. Kombucha.com Gift Card - $50.00","public_title":"$50.00","options":["$50.00"],"price":5000,"weight":0,"compare_at_price":null,"inventory_management":null,"barcode":null,"requires_selling_plan":false,"selling_plan_allocations":[],"quantity_rule":{"min":1,"max":null,"increment":1}},{"id":47466679107870,"title":"$100.00","option1":"$100.00","option2":null,"option3":null,"sku":"","requires_shipping":false,"taxable":false,"featured_image":null,"available":true,"name":"Raw Brewing Co. Kombucha.com Gift Card - $100.00","public_title":"$100.00","options":["$100.00"],"price":10000,"weight":0,"compare_at_price":null,"inventory_management":null,"barcode":null,"requires_selling_plan":false,"selling_plan_allocations":[],"quantity_rule":{"min":1,"max":null,"increment":1}},{"id":47466679140638,"title":"$250.00","option1":"$250.00","option2":null,"option3":null,"sku":"","requires_shipping":false,"taxable":false,"featured_image":null,"available":true,"name":"Raw Brewing Co. Kombucha.com Gift Card - $250.00","public_title":"$250.00","options":["$250.00"],"price":25000,"weight":0,"compare_at_price":null,"inventory_management":null,"barcode":null,"requires_selling_plan":false,"selling_plan_allocations":[],"quantity_rule":{"min":1,"max":null,"increment":1}}]
"Close (esc)"
icon-chevron
"Close (esc)"
Kombucha Gift Card | Raw Brewing Co. Online Voucher