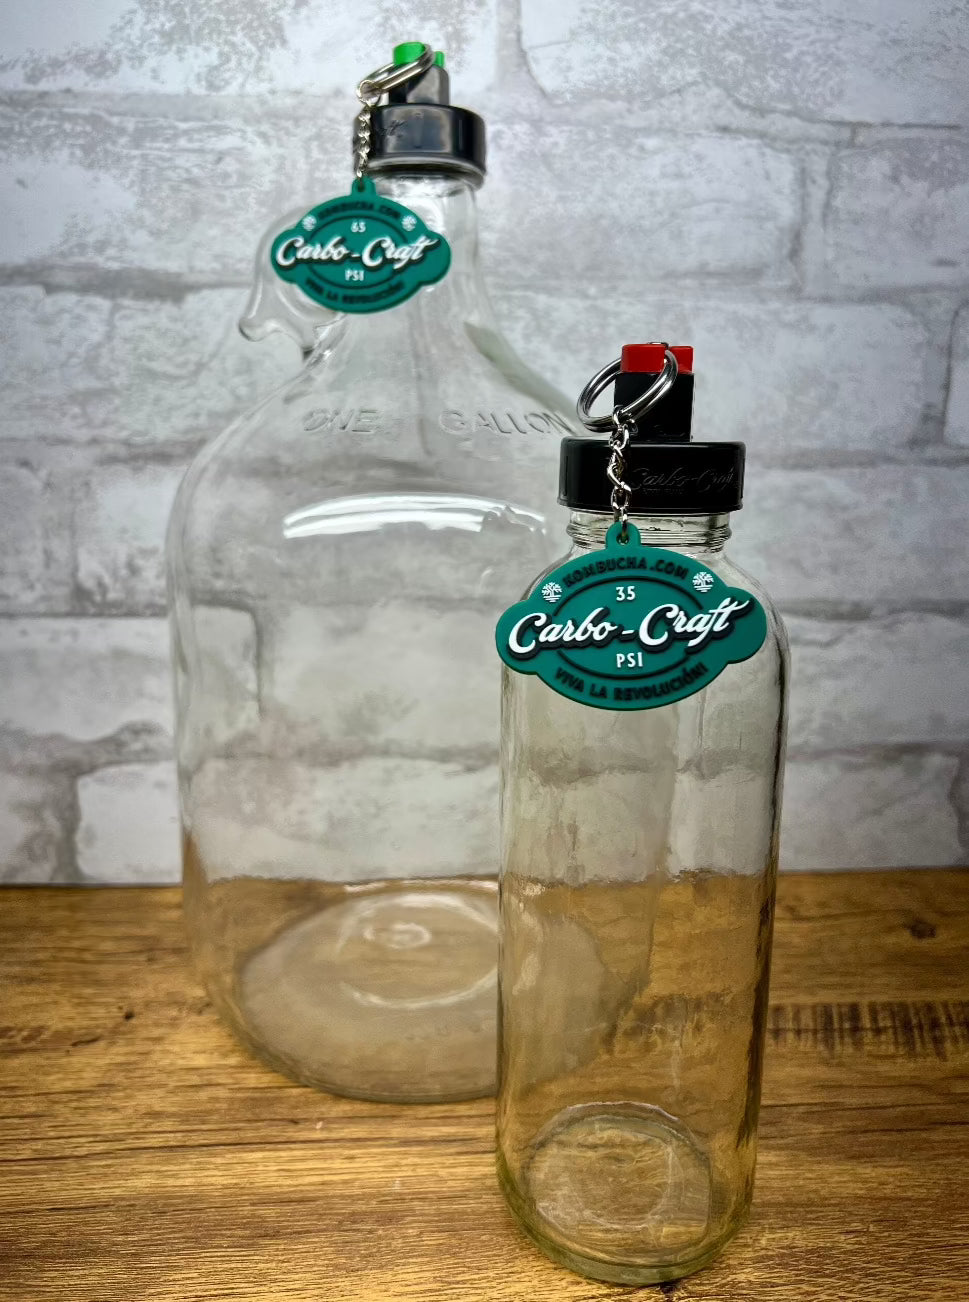


Compatibility: In the spirit of uprising, we believe in brewing without boundaries. So in addition to Carbo-Craft bottles, Carbo-Caps are a perfect match for ALL GT's Synergy Kombucha bottles (and other kombucha bottles with a 38mm closure). They're also compatible with the vast majority of 1/2-gallon and 1-gallon growler bottles with a 38mm closure!
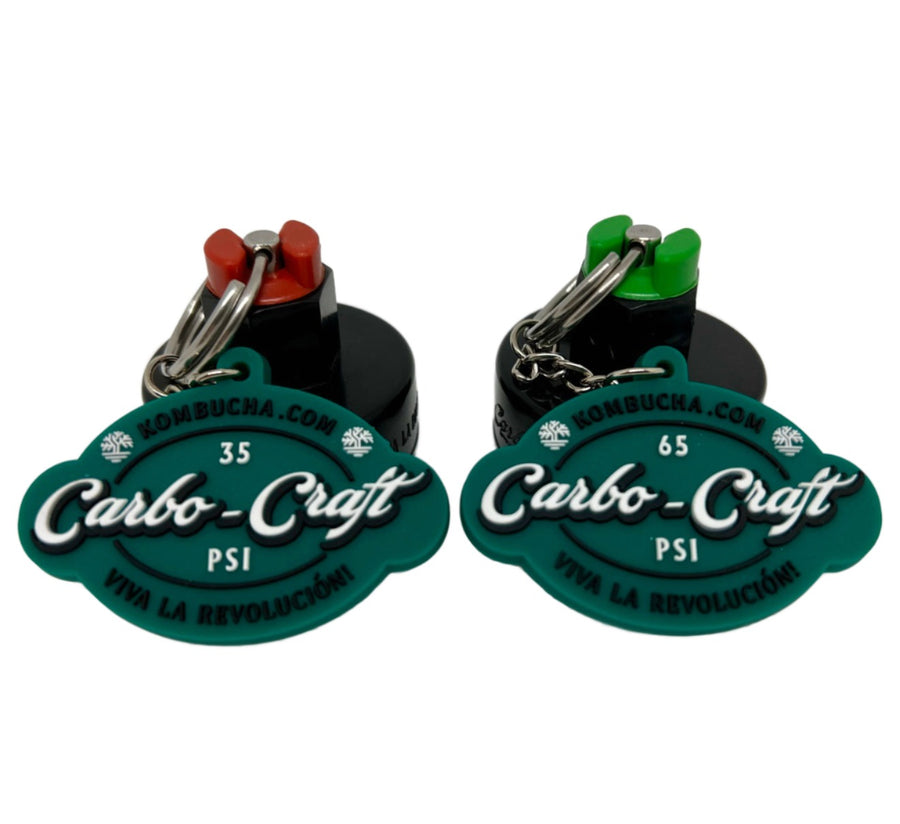
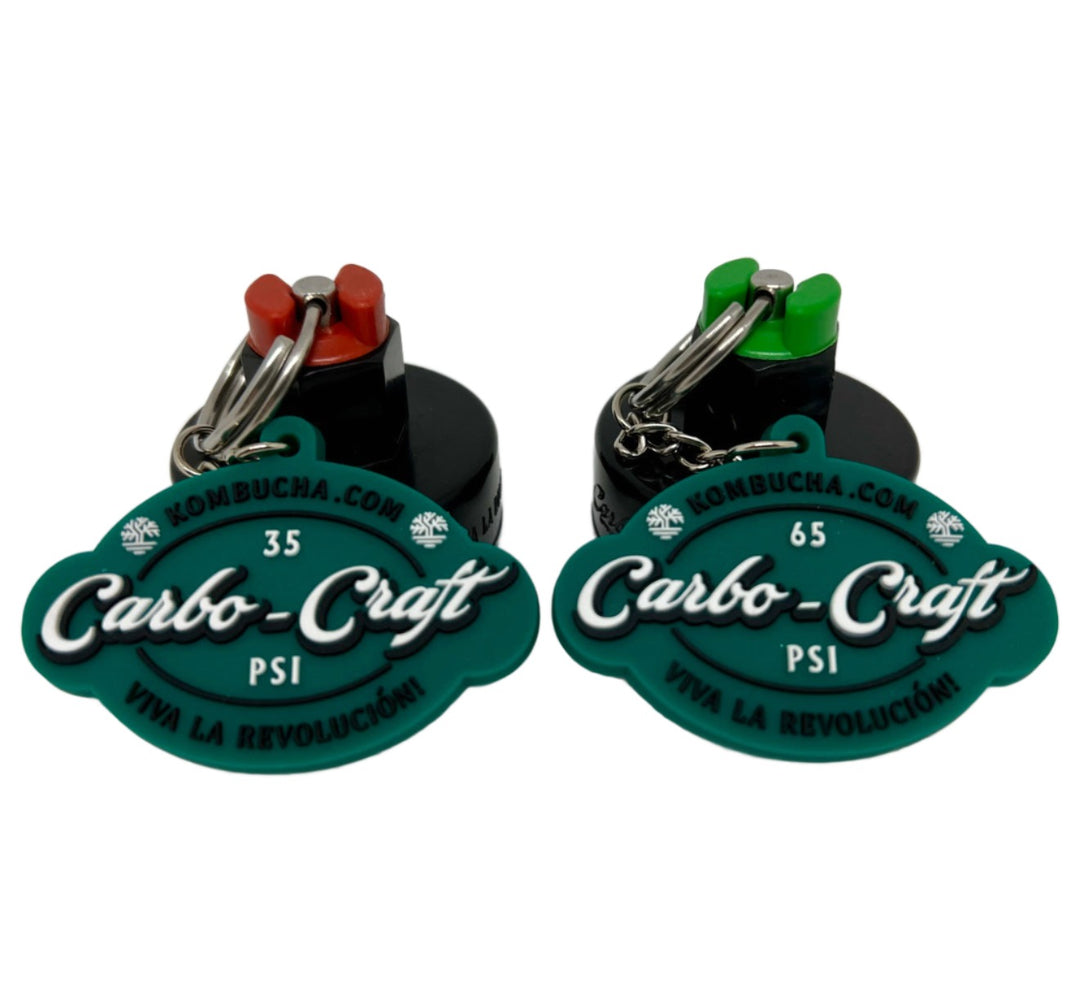
Carbonation Level: 35 psi = medium carbonation, 65 psi = high carbonation.
Carbo-Caps aren't just another brewing tool – they're a revolution for homebrewers. Equipped with an interchangeable Pressure Relief Valve (PRV), Carbo-Caps revolutionize the way you carbonate. The moment your brew starts to become over-carbonated, Carbo-Caps step up to automatically (and safely) release the pressure. Crisis averted!
There’s never been an easier way to safely carbonate fermented beverages of all kinds. From beer, to kombucha, and everything in between, Carbo-Craft bottles and Carbo-Caps provide consistent carbonation, every time. The best part? Bottle bombs are officially echoes of an old regime. Say hello to fizz freedom!
In short, the Carbo-Craft system is your ultimate brewing compadre – and the definitive swingtop slayer. Viva la Revolución!
The Magic of Bottle Conditioning: It’s the secret party happening inside your bottle: the yeast produce carbon dioxide (CO2), and there's no escape for the gas in a sealed environment. With no escape, it dissolves into your brew, providing the bubbly effervescence. This process is what we call bottle conditioning or secondary fermentation (F2). But without a sealed bottle, it's like a party without music – no fizz, no fun!
The Dreaded Bottle Bombs: Without much control, things used to get scary in the old days of homebrewing. Leave your brew out to carbonate a bit too long? The pressure inside the bottle keeps building up...until, suddenly, it's too much for the bottle to handle. Boom! You've got yourself a geyser, or worse, a bottle bomb. Not just messy, but downright dangerous. And unjust!
Enter the Hero - Carbo-Caps: Fear no more! The ingenious Carbo-Cap is here to save your brew (and your kitchen) with built-in pressure relief. What does that mean for you? It means the moment your brew starts to over-carbonate, the PRV gently releases the excess pressure. The result? Perfectly carbonated beverages, consistent fizziness, and peace of mind…every time!
Higher Temperature, Higher Pressure: Simply put, the pressure inside a bottle depends on the temperature. Why? Because inside that bottle, the CO2 (carbon dioxide) is playing a high-energy game. As the temperature goes up, the CO2 gets more excited and wants to escape, so it pushes harder against the walls of the bottle. Even with the same volume of C02 dissolved into the liquid, as the temperature rises, the pressure inside the bottle increases. That's why a warm soda bottle feels like it's ready to burst – it’s packed with CO2 energy!
Carbonating at a higher temperature? The CO2 is a bit more ambitious, creating more pressure. In this case, you may want the 65 psi (green) PRV for that perfect fizz. Carbonating at a bit lower temp? The 35 psi (red) PRV may be your best bet. It's like choosing the right gear for a bike ride – it depends on the hill you're climbing – so enjoy the experimentation! For reference, most beer is generally carbonated between 2.5-3.5 volumes of CO2, kombucha is generally 3-4, and Coca-Cola is 3.1. More volumes of CO2 = more bubbles. See the chart below for a quick reference guide.
|
PRV |
74° F |
76° F |
78° F |
80° F |
82° F |
84° F |
|
65 psi (green) |
4.16 Volumes |
4.03 Volumes |
3.92 Volumes |
3.80 Volumes |
3.69 Volumes |
3.59 Volumes |
|
35 psi (red) |
2.59 Volumes |
2.52 Volumes |
2.44 Volumes |
2.37 Volumes |
2.30 Volumes |
2.24 Volumes |
Go to kombucha.com/psi for a full temperature range. While the Carbo-Craft system can't account for every variable, it represents a significant leap forward from traditional F2 bottles, offering a more controlled, safer, and consistently better experience. Viva la Revolución!
Checking Carbonation: Want to check how fizzy your brew is? Just give the PRV ring on your Carbo-Cap a gentle pull. If you see and hear a hiss of gas, congratulations, you've got carbonation! More bubbles escaping means more fizz in your biz. If your brew happens to get a bit too bubbly for your taste, simply remove the Carbo-Cap and let the brew off-gas. You can also blend with additional liquid – or pour in a cup and give a little stir.
Cooling for Stability: Here's a pro tip – before you pop open your bottle, chill it in the fridge. Why? Because CO2 loves the cold. It settles down, becoming one with the brew, and promises a smoother opening. Less gush, more hush. And the best part? Even if you re-warm your brew, the fizz stays more loyal. Cool, right? But remember, even fresh out of the fridge, you always want to pull the ring and release pressure prior to opening the first time.
Brewing with our system makes it exceptionally easy to make your own kombucha at home.
Put desired amount of tea into disposable kombucha.com Drawstring Filter Bags (tea balls and muslin bags not recommended for this blend). PRO TIP: tea will expand in water, so only fill your tea bags up about half way, otherwise bags may burst.

Add your sugar and filtered water to a pot, heat to a rolling boil, then add filled tea bags. Immediately remove from heat, cover, and allow to cool to room temperature. Remove tea bags. PRO TIP: Need to cool your brew more quickly? Use only 1/4 to 1/3 of the total water to boil, allow tea to steep, then add the remainder at chilled or room temperature.
Add your cooled brew to your scoby and starter liquid. Cover with a piece of cloth (or kombucha.com Fer-Mesh) and an elastic band, then place in a well-ventilated area between 72-80 degrees. Do not place in direct sunlight.
Allow your brew to ferment for 5-10 days (warmer >temperatures take less time), or until your brew reaches desired flavor.

Optional: flavor with kombucha.com Brew Booster or your favorite booch fixins, and bottle for secondary fermentation. Enjoy your creation!

For kombucha and other living beverages, reserve your scoby
and/or any starter liquid needed for your next batch, before adding
Brew Booster. Use during first (primary) fermentation notrecommended.
Put desired amount of BrewBooster into muslin bag or tea ball and add to your brew (drawstring paper filter bags not recommended). Muslin bag or tea ball is not required, but you’ll likely want to strain later

Put your brew in the refrigerator and allow to steep for 4-72 hours, or longer (the longer it steeps, the stronger the flavor). Optional : for kombucha and other living beverages, leave at room temperature for higher levels of carbonation.
Remove the bag, tea ball, or strain your brew. For kombucha and other living beverages, bottle for secondary fermentation and carbonation if desired. Store in refrigerator. Enjoy your brew!

Super premium, potent deliciousness inside. Begin with the
suggested starting usage – you can always add more 😉